


 | |
| The DAK forces are hit by some deadly accurate mortar fire |
 | |
| Making use of what little cover the desert can provide |

 | |
| The Indians try to bring some AT to bear on the Matilda |
 |
| Both sides are quick to occupy the buildings. |


 |
| One shot puts an end to the Indian armour! |

 |
| Perhaps stealth might help... |
 |
| The Indians charge forward and manage to knock out the LMG team from a DAK section but it leaves them exposed |
 |
| The carriers try to use their ATRs to knock out the Germans captured tank but one is sent spinning out of control by AT fire |
 |
| The Indians pass a morale test to stay in the battle. |
 |
| A German counter attack sends the Indians back to the cover of the rocks. |
 |
| But then somehow the Indians beat the numerically superior Germans |
 |
| A German close assualt fails to harm the abandoned carrier, possibly because they don't have AT grenades! |
 |
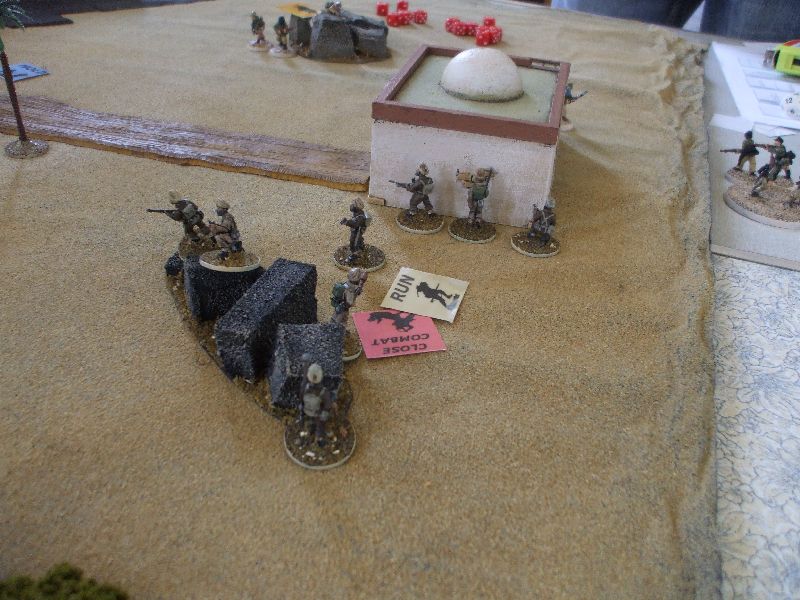
| The Indians refuse to give up and continue to rampage across the board, however they are beaten by the Germans but not enough to make them run! |
 |
| The Indians once again refuse to quit |
 |
| Things look bad for the Indians... |
 |
| Or not! Among the casualties is the Germans CO! |
 |
| The Indian close combat specialists take a well earned rest behind the wall. |
 |
| Sneaking to the top of the tower the Indians get off one shot with a ATR that manages to stun the Matildas driver. |
 |
| Both the Indians and the DAK manage to pass morale tests. |
 |
| Yet another charge from the Indian bayonet boys except this time they fall short. |
 |
| Both carriers finally meet their end. |
 |
| There are not many people left. |
 |
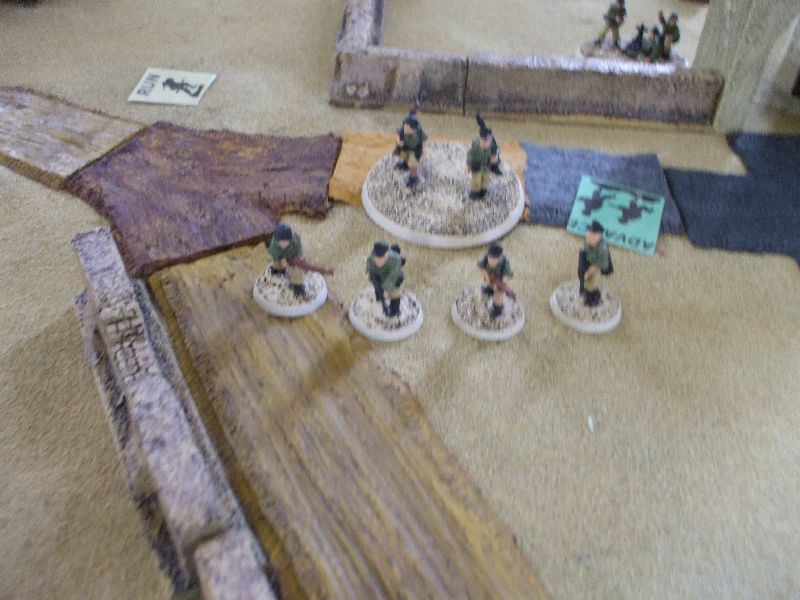
| The Germans are winning and they start an advance to finish off the Indians. |
 |
| Both side stay in the battle. |
 |
| The Germans are making mincemeat of the Indians caught on the stairs. |
 |
| They are falling back quickly now. |
 |
| It may look like the DAK are advancing but shortly after this they unexpectedly run away, handing victory to the Indians! to top it off the the Indians completed their secret objective of protecting their commander while the DAK failed to complete their identical mission! |
No comments:
Post a Comment